News Having a go at time-lapse: a short guide to doing it yourself

There are no limits to the use of photography. From shooting on film for glossy Hollywood movies all the way to the 0.3 megapixel camera on the Nintendo 3DS, there is something on the market for everyone.
And that means there’s no reason not to give time-lapse a go.
Outdoor and long-term captures are inherently difficult, but as a guide for indoor, shorter term, “DIY” lapses look no further.
Setting up your system indoors makes it safer – for security, maintenance and protecting it from the elements. It also limits the subjects you can shoot, because it’s better to start small for your first video.
If it sounds like you sort of thing, it is important to get yourself a good quality DSLR camera and tripod to boot. DSLR’s offer much better image quality, depth and battery life than off-the-shelf point-and-shoot digital cameras. And a tripod will provide a solid base for it to sit, ensuring there is no jumping from shot to shot when you come to edit your images together.
A lot of new cameras boast an interval function, meaning you can set your camera snapping at set times and leave it be. But these are no substitute for the real thing – an intervalometer. This external device plugs into your camera and allows you to adjust both the length of time and number of shots you want to snaps away at set intervals. (Most intervalometers also have an external shutter button, which is great for everyday use as it reduces the risk of you nudging the camera whilst taking a photo.)
When setting the interval rate – be careful. Most time-lapses are made up of 24 images per second (a standard frame rate), so taking an image every second for 24 seconds will only give you one second of finished footage. And there are issues with capturing that rapidly. For a basic one-minute long edit, you will only need to capture for 24 minutes – resulting in around 1,500 images. You have to ask yourself – will it be worth my while? What can happen in 24 minutes that is worth capturing at such a high frame rate?
If you’re at home, what do you want to capture? If it were a plant growing, would taking an image every 15 minutes be sufficient? “Probably” is the answer. In 24 hours your camera would capture 96 images. And after around two weeks of photographing you would have enough images for a minute long video.
Things will not always go to plan, so it is unlikely you’ll use all the images you capture in your final cut. But there are ways to minimise both disruption and wasted time. A tripod (previously mentioned) is the first. You also need to consider what memory card you need and make sure your camera is set-up to shoot in JPEG format – it will keep quality high but space used to a minimum. Also make sure to switch off the auto white balance on your camera before you start and set it up manually. This will (to an extent) compensate for drastic changes in lighting. (For example, if you’re shooting outside of a window, lighting and shadows at sunrise, during the day and at dusk will vary greatly.)
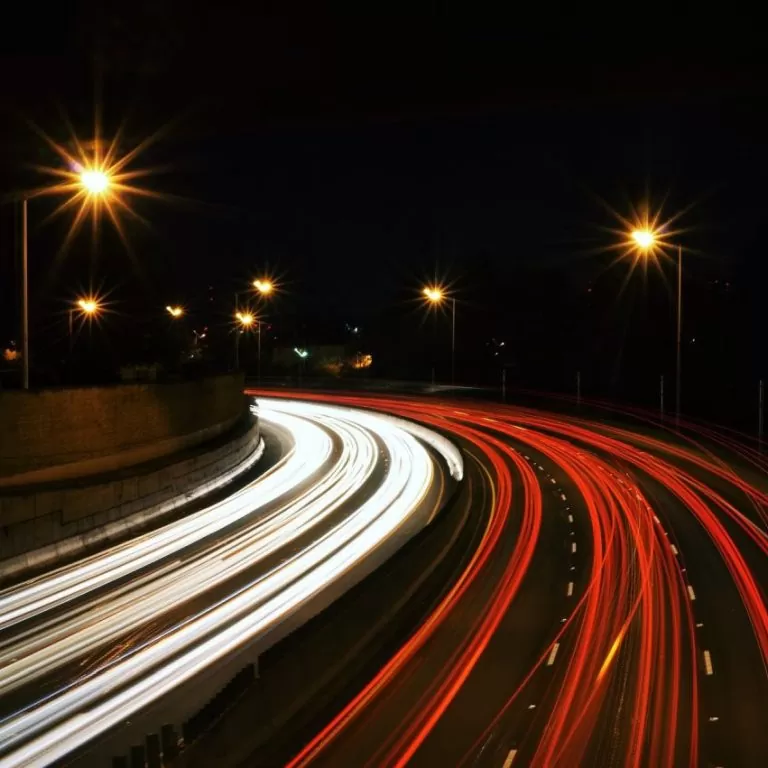
If you are shooting fast-paced objects (such as cars or people), you might want to consider altering your exposure as well. The longer you set it, the longer the shutter on your camera will stay open. This will create a “blurred” effect, which will help to blend images in post-production and create a smoother time-lapse video edit. But there is a side effect of long exposures: additional light. If you find your camera is letting in too much light, consider getting a neutral density filter to help channel the light.
The only other significant thing to take into account is your camera’s battery life. Even on a full charge, you might struggle to get the images you need if you are going to be shooting for longer than a coupe of hours, so consider a battery grip. Alternatively, buy a mains adapter and have your DSLR run off that – but you will need to be near a plug!
Don’t be dis-heartened if your set-up has some teething problems, it might take some time to master. This is why it’s best to start small – try different settings, different batteries and different levels of light. But the proof is always in the pudding, so wait until you have completed capturing before you start changing settings. You will come out with a dodgy edit if you start fiddling midway through your capture.
Once you have your collection of images, be sure to have a go at editing your sequence together. For a basic edit, Apple’s QuickTime Pro will do most of the work for you. Simply import your images and let your computer take over. Just make sure to remove any images you dislike before importing. And don’t just look at them as individual stills; consider if there is a large amount of images with no activity and decide if it is worth removing them completely.
Installation of roads, railway track and infrastructure; live, outdoor events and music concerts and construction site management all require professional companies, who have years of experience, the most up-to-date equipment and the best capturing techniques and post-production software.
But there is no reason why you can’t have a go yourself at a smaller project. Why not have a go at home? Let us know how you get on by posting on our Facebook wall.